
Why does my compost tumbler smell? If you’re asking that, you’re not alone: you bought a compost tumbler to turn kitchen scraps into garden gold. Instead, every time you crack the lid open, a wave of rotten-egg stink hits you in the face. Neighbors notice. You start dreading the walk to the backyard. And the worst part is the doubt: did you waste your money on a machine that just does not work?
Here is the good news. A smelly tumbler is almost never a broken tumbler. That sulfur stink is a specific chemical signal. It means the inside of your drum has gone anaerobic, which is a fancy way of saying the oxygen ran out and a different set of microbes took over. Those microbes produce hydrogen sulfide and volatile organic acids as waste products, and that is what your nose is detecting. Fix the oxygen problem and the smell problem usually follows within a day.
This guide walks through the five fixes that actually work, in the order you should try them. Every one of them is grounded in composting science and in what experienced tumbler owners report, not in guesswork. Nothing here requires buying a new machine, though we will name the tumblers with the best aeration designs for anyone whose current drum is fighting them.
Nothing here comes from hands-on product testing. Every claim is grounded in manufacturer spec sheets, published reviewer findings, and owner reports from gardening communities.
- Rotten-egg smell means anaerobic conditions: too much water, too many greens, or not enough air. The microbes are the problem, not the tumbler.
- The 24-hour fix is a three-step sequence: stop adding wet scraps, add a big dose of dry browns, and tumble to mix air back in.
- The ideal green-to-brown ratio runs roughly 1 part nitrogen-rich greens to 3 parts carbon-rich browns by volume for tumbler composting.
- Meat, dairy, and oily foods are the fastest way to make a tumbler stink. They belong in the trash, not the drum.
- If the smell keeps coming back after every fix, your drum’s aeration design may be the bottleneck. The FCMP IM4000’s vent system and handhold design are built exactly for this failure mode.
Fix 1: Why Does My Compost Tumbler Smell (Add Dry Browns, Generously)
Smell in a tumbler is a carbon-to-nitrogen problem far more often than anything else. Kitchen scraps are nitrogen-rich greens. When greens dominate, microbes burn through the available oxygen fast, and the anaerobic crowd moves in. The fix is dry, carbon-rich browns: shredded cardboard, dry leaves, straw, or wood pellets. Wood pellets are the enthusiast favorite because they are dense, absorbent, and easy to store in a bag next to the tumbler.
For a smelly drum, add browns at roughly three times the volume of your recent green additions. Do not be timid. Owners who fixed persistent stink consistently report that the amount of browns that worked was more than they expected. Then tumble the drum 5 to 6 rotations so the browns mix through the wet layer.
Fix 2: Stop Feeding It for 24 Hours
A tumbler that stinks is a tumbler that is overloaded relative to its airflow. Every fresh handful of wet scraps feeds the anaerobic microbes. Put the kitchen caddy on pause for one full day. Let the existing material stabilize while the browns from Fix 1 do their work. This costs nothing and it is the step most people skip because it feels like doing nothing. It is doing something: it is starving the problem.
Fix 3: Tumble to Reintroduce Air
Anaerobic pockets form where material compacts and sits. Tumbling breaks those pockets apart and folds oxygen back into the mix. Give the drum 5 to 6 full rotations, once in the morning and once in the evening, for the 24-hour fix window. Do not overdo it. Constant tumbling every few hours can actually cool the pile and slow the good microbes. Two deliberate sessions a day is the rhythm experienced owners settle on.
Fix 4: Check the Moisture With the Squeeze Test
Grab a handful of material from inside the drum and squeeze it. It should feel like a wrung-out sponge: damp, with maybe one or two drops of water, never dripping. If water streams out, the drum is too wet and no amount of browns will fix it until the excess drains. Leave the lid ajar for a few hours on a dry day to let moisture escape, or add extra shredded cardboard, which wicks moisture fast. If the material is dusty and dry, the opposite problem is happening and a light watering is in order, though a dry drum rarely stinks.
A compost thermometer, like the widely recommended REOTEMP models, helps here too. Temperature tells you what the microbes are doing: a hot drum is an aerobic drum, and an aerobic drum does not stink.
Fix 5: Pull Out the Forbidden Foods
Meat, dairy, fats, and oily foods are the express lane to stink. They break down slowly, go rancid, and overwhelm the aerobic microbes. Pet waste is also out. If any of these went in recently, remove what you can and restart the clock on the 24-hour fix. Coffee grounds, eggshells, fruit and vegetable scraps, and plain grains are all fine. Bones are not.
When the Smell Keeps Coming Back
If you run the five fixes and the stink returns every week, the problem may be structural. Some drums have poor vent placement, doors that seal too tightly, or smooth interiors that let material slide instead of mixing. The FCMP IM4000 is the most recommended upgrade in this situation: its aeration holes are well placed, the deep interior fins break up clumps as you tumble, and the sliding door does not trap moisture the way some latch doors do. The VIVOSUN 43-gallon dual chamber is the budget alternative with adjustable air vents that let you dial airflow up when the drum runs wet. The Miracle-Gro dual chamber sits between them on price with a straightforward easy-turn design. If a replacement drum is the answer and space is tight, the compact compost tumblers for small spaces in our guide were picked for venting and airflow first.
Top Picks at a Glance
FCMP Outdoor IM4000
Best overall upgrade for smelly drums: vent placement and mixing fins built for airflow.
VIVOSUN 43-Gallon Dual Chamber
Adjustable air vents let you dial airflow up when the drum runs wet.
Miracle-Gro Dual Chamber
Straightforward easy-turn design with good pest sealing.
Detailed Reviews

1 FCMP Outdoor IM4000
The IM4000 is the classic answer to the smell problem because it was designed around airflow. The aeration holes sit where they actually do something, the deep interior fins break up the compacted wet layers that breed anaerobic pockets, and the octagonal drum shape means material tumbles instead of sliding. It holds 37 gallons across two chambers, so one side can finish while you stop feeding the other, which is exactly the rhythm the 24-hour fix prescribes.
Made in Canada from 100 percent post-consumer recycled polypropylene, BPA-free, with UV inhibitor and a galvanized steel frame. Owner consensus is strong at 4.5 stars across tens of thousands of ratings, and reviewers consistently praise the easy emptying thanks to generous ground clearance.
Who it’s for: anyone whose current tumbler stinks no matter what they try. Who should skip: very large households that need more than 37 gallons of total capacity.
| Capacity | 37 gallons, dual chamber |
| Material | 100% post-consumer recycled polypropylene (BPA-free, UV-inhibited) |
| Frame | Galvanized steel |
| Dimensions | About 30 x 28 x 36 inches |
| Door | Sliding door with built-in handholds |
| Price tier | Budget-friendly tier |
- Aeration design built to prevent anaerobic pockets
- Dual chambers support the stop-and-cure rhythm
- Durable recycled construction
- Easy to empty with good ground clearance
- Assembly takes time and a helper
- No locking feature to hold chambers in place
- 37 gallons may be small for big families

2 VIVOSUN 43-Gallon Dual Chamber
The VIVOSUN’s standout feature for smell prevention is its adjustable air vents. When the drum starts running wet and sour, you open the vents wider; when it is cooking well, you dial them back. That control is rare at this price. The 43-gallon total capacity across two chambers is generous for the money, the black drum absorbs sun and warms the contents, and the 360-degree rotation with deep fins mixes thoroughly.
The honest trade-off is frame durability. The materials are adequate rather than heavy-duty, and owner reports suggest a lifespan of several seasons rather than a decade. As a smell-fixing upgrade on a budget, though, it is hard to argue with.
Who it’s for: buyers who want the most vent control for the least money. Who should skip: tinkerers who want vent adjustability.
| Capacity | 43 gallons (2 x 21.5 gal), dual chamber |
| Material | PP plastic body, galvanized steel frame |
| Vents | Adjustable air vents |
| Rotation | 360-degree with deep mixing fins |
| Dimensions | About 26 x 24 x 37 inches |
| Price tier | Budget tier |
- Adjustable vents for moisture control
- Large capacity for the price
- Black drum warms contents in sun
- Budget-friendly tier
- Lighter frame than premium options
- Assembly can be fiddly
- Finish shows scratches over time
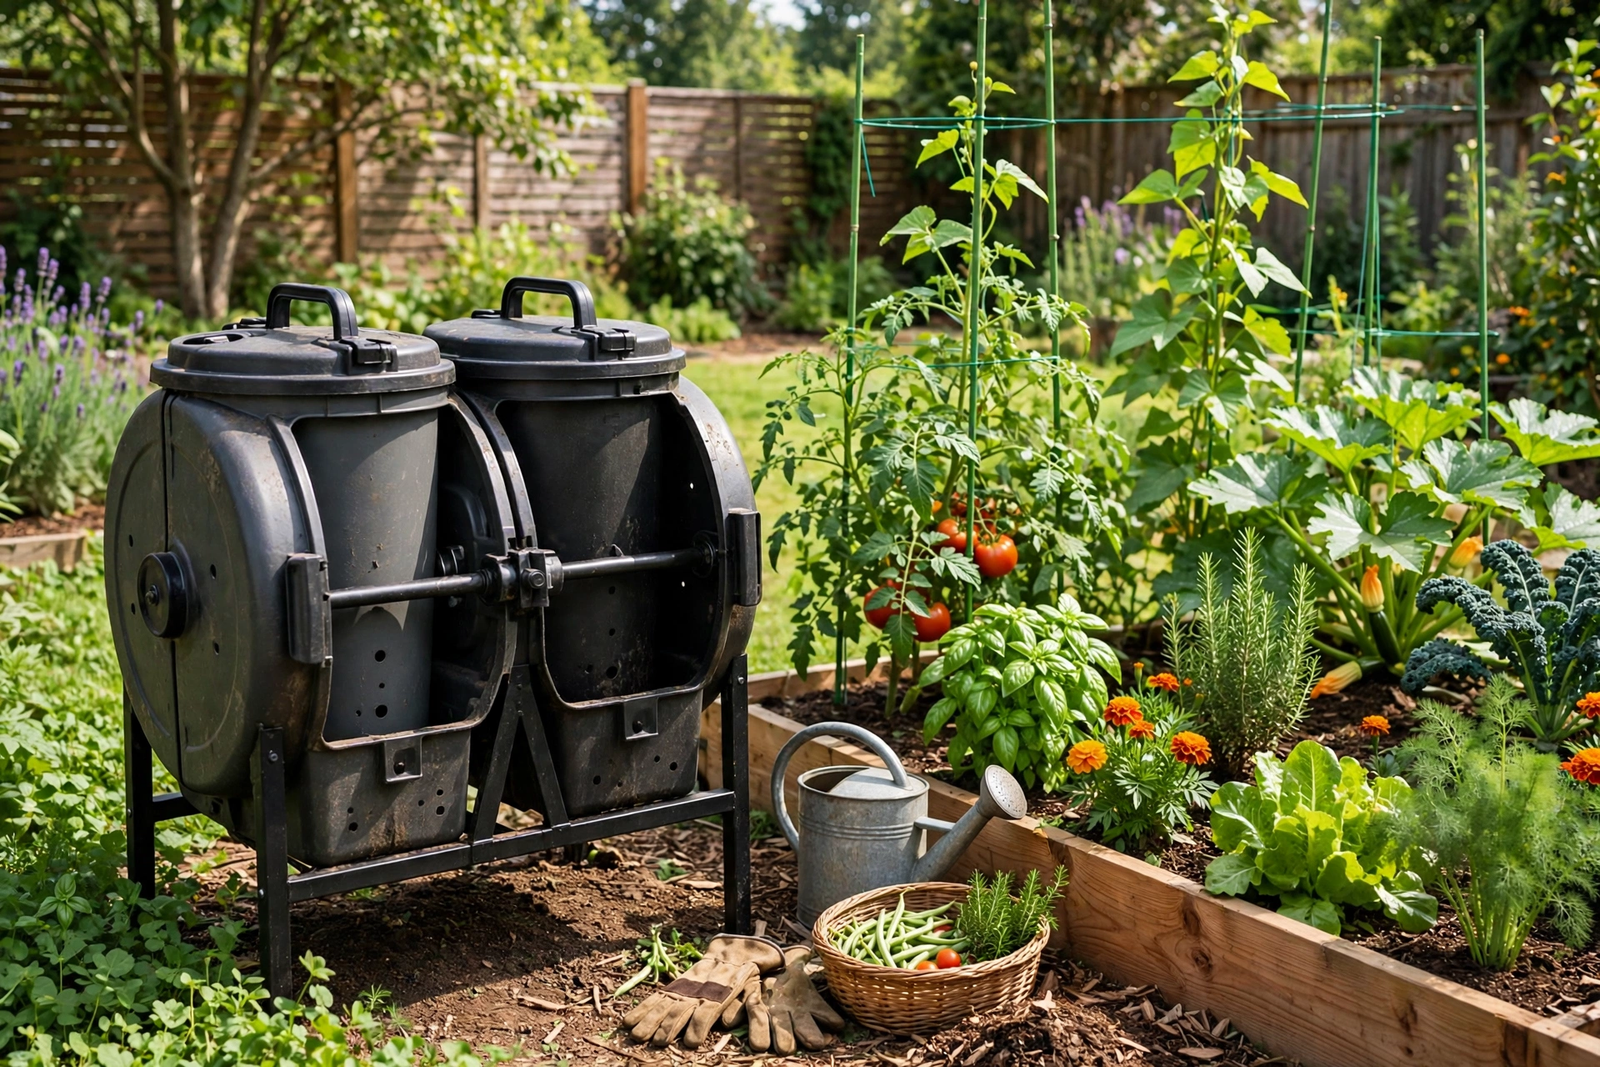
3 Miracle-Gro Dual Chamber
The Miracle-Gro dual chamber is the uncomplicated middle option. Two 18.5-gallon chambers, sliding doors, an easy-turn mechanism, BPA-free plastic on a galvanized steel base. It does not have the FCMP’s fin design or the VIVOSUN’s adjustable vents, but it turns smoothly and seals well, which covers the two things that matter most for smell prevention: aeration and pest resistance. Owner ratings sit in the mid-4s.
It is a sensible pick when you want a known brand name and a no-drama assembly rather than maximum tunability.
Who it’s for: buyers who want a simple, brand-name dual chamber without overthinking it. Who should skip: tinkerers who want vent adjustability.
| Capacity | 37 gallons total (2 x 18.5 gal), dual chamber |
| Material | BPA-free plastic, galvanized steel base |
| Doors | Sliding doors |
| Rotation | Easy-turn mechanism |
| Price tier | Mid-range tier |
- Simple and reliable
- Good pest sealing
- Easy assembly relative to competitors
- Mid-range price tier
- No adjustable vents
- Less aggressive mixing than finned drums
- Moderate capacity
The Smell Diagnosis Chart
Most compost smells fall into a handful of recognizable types, and each type points to a specific cause. Use this chart like a doctor uses symptoms: match what you smell, confirm the likely cause, apply the fix.
| What you smell | Likely cause | The fix |
|---|---|---|
| Rotten eggs / sulfur | Anaerobic pockets, too wet, compacted | Add 2-3 handfuls of browns per handful of greens, turn thoroughly, leave door ajar 24 hrs |
| Ammonia / sharp urine-like | Too much nitrogen, fresh grass or scraps overload | Add browns at 3:1 ratio, turn, hold off new greens for 3 days |
| Sour / vinegar / silage | Fermentation from matted, airless layers | Break up clumps with a stick, add coarse browns (wood chips), turn daily for a week |
| Putrid garbage | Meat, dairy, or fats (which should not be in there) | Remove the offending material, add browns, turn; keep animal products out going forward |
| Musty / stale | Stagnant moisture, poor airflow, rarely turned | Turn every 2-3 days for two weeks, check that vents or aeration holes are clear |
| No smell at all, nothing happening | Too dry or too cold, pile is dormant | Moisten to wrung-out-sponge level, add fresh greens, be patient |
Two smells deserve special note. Rotten-egg smell is hydrogen sulfide from anaerobic bacteria, the most common tumbler complaint. It almost always means the same thing: too many wet greens went in at once and compacted into an airless mat. The ammonia smell is the opposite problem in one sense: plenty of air, but so much nitrogen that microbes cannot process it all, and the excess escapes as ammonia gas. Both are fixed with browns, which is why experienced composters treat a bag of shredded leaves as essential equipment rather than an accessory.
The 7-Day Smell Rescue Plan
When a tumbler has gone fully sour, random fixes waste time. This day-by-day plan resets a smelly drum in one week. It assumes a standard dual-chamber tumbler and a supply of dry browns.
Day 1: Diagnose and aerate. Open the drum and look before you touch. Is material matted into sheets? Is liquid pooling? Break up every clump you can reach with a stick or compost fork, add a generous layer of coarse browns (wood chips or shredded cardboard), and turn the drum ten full rotations. Leave the door cracked open.
Day 2: Rebalance. Add browns at roughly three parts browns to one part recent greens by volume. If the pile is visibly wet, lean heavier on browns. Turn five rotations. The smell should already be noticeably reduced.
Day 3: Check moisture. Squeeze test again. If water drips, more browns. If it is dry and crumbly, sprinkle water lightly. Turn five rotations. Close the door normally tonight.
Day 4: Feed correctly. Add the day’s kitchen scraps buried in the center of the pile, then cover with browns. This is the habit that prevents recurrence: greens never sit exposed on top.
Day 5: Turn and observe. Five rotations. By now the smell should be faint or gone, replaced by an earthy scent. If sulfur persists, repeat the Day 1 aeration.
Day 6: Rest. No new greens today. Let the microbes work. Turn three rotations.
Day 7: Resume normal routine. The pile should smell like forest floor. Return to the standard rhythm: bury greens, cover with browns, turn every two to three days.
Browns Ranked by Odor-Fighting Power
Not all browns are equal when you are fighting a smell. Coarse, absorbent, high-carbon materials do the most work because they simultaneously soak up moisture, create air channels, and feed the carbon-hungry microbes.
- Wood chips and bark nuggets: the best structural browns. They prop open air channels that prevent anaerobic mats. Slow to break down, which is a feature here.
- Shredded cardboard: the best absorbent brown. Soaks up excess moisture fast and is available free everywhere. Avoid glossy or heavily printed pieces.
- Dry leaves: the classic all-rounder. Good carbon, decent structure, free in autumn. Stockpile bags of them in fall; you will thank yourself in July.
- Straw: excellent structure and air flow, but breaks down slowly and can be bulky in a tumbler. Chop it shorter for drum use.
- Shredded newspaper: good absorbency, poor structure. Fine as part of a mix, weak as the only brown. Avoid glossy inserts.
- Sawdust and wood shavings: very high carbon, very absorbent, but compacts easily. Use in thin layers mixed with coarser material, never thick layers alone.
When a Smell Means Real Trouble
Most smells are management issues. Two situations deserve stronger action. The first is persistent putrid odor after a full week of the rescue plan: something is likely rotting that should not be in the pile (buried meat, fats, or pet waste from a previous owner). Empty the chamber, remove the offending material, and restart that side. The second is foul-smelling leachate pooling under or around the tumbler: the pile is far too wet and anaerobic throughout. Drain it, mix in a large volume of dry browns, and leave the drum open in the sun for a day. Neither situation ruins the tumbler. Both are fixed by removing the cause and rebalancing, not by deodorizers or additives.
Our Verdict
A smelly compost tumbler is a chemistry problem, not a product failure. Run the five fixes in order: browns, a feeding pause, deliberate tumbling, the squeeze test, and evicting forbidden foods. In most cases the stink fades within 24 hours because you have starved the anaerobic microbes and re-armed the aerobic ones. If the smell is a weekly recurring event despite doing everything right, upgrade to a drum with real aeration engineering. The FCMP IM4000 is the proven pick, the VIVOSUN is the budget answer, and either one paired with a steady browns habit will keep your backyard smelling like a garden, not a swamp.
Pingback: Do Electric Composters Really Make Compost? Honest Answer (2026)